Descaling Your Keurig 2.0: A Step-by-Step Guide
Purchasing products via the links in our article may result in us earning a commission, but rest assured, this does not influence our editorial independence.
Descaling is an important part of regular maintenance for your Keurig 2.0 machine, and it’s something I’ve been doing for years. Not only does descaling help keepour machine running smoothly, but it also helps to extend its lifespan. In this blog post, I’m going to walk you through the process of descaling your Keurig 2.0 machine, from gathering the necessary materials to performing the descaling cycle.
Required Materials
The first step in descaling your Keurig 2.0 machine is to gather all the necessary materials. You’ll need:
- A paperclip (to clean the needles)
- A cloth (to clean the diffuser)
- Bottled or filtered water (to run a cleansing brew after cleaning)
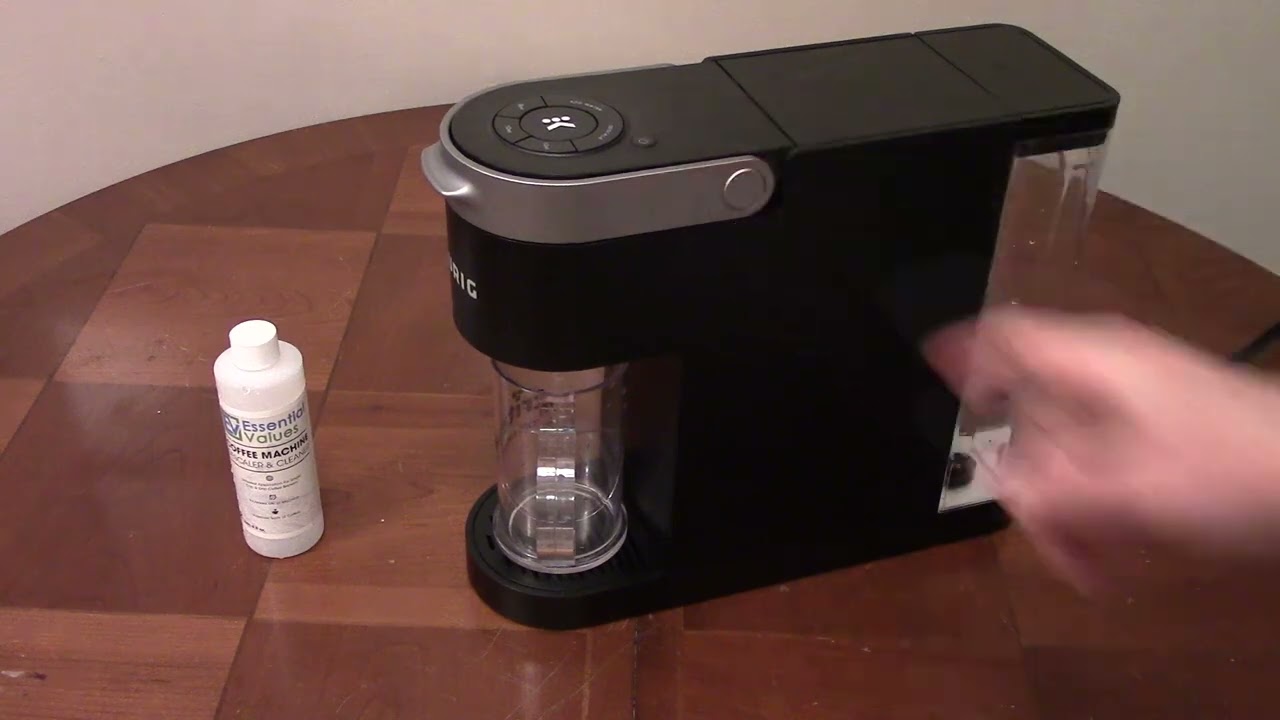
White vinegar is the most common descaling agent and can be purchased from most supermarkets. If you don’t have any vinegar on hand, you can also purchase a descaling solution, such as Keurig’s Descaling Solution, from most retailers. A clean cloth will be needed to wipe down the machine after the descaling process is complete. Finally, you’ll need a container to collect the used descaling solution.
Is It Possible to Descale Keurig 2.0 Without Vinegar?
Many people ask if it’s possible to descale a Keurig 2.0 machine without using vinegar. The answer is yes, but it’s not recommended. Vinegar is an effective descaling agent because it breaks down mineral deposits and helps to remove any built-up gunk. It’s also relatively inexpensive and widely available.
If you don’t have access to vinegar, there are other methods you can use to descale your Keurig 2.0 machine. For example, you can use a diluted citric acid solution or a commercial descaling solution. Both of these methods are effective, but they may be more expensive than using vinegar. Additionally, some commercial descaling solutions may contain chemicals that could be harmful if ingested.
How to Descale Keurig 2.0
Now that you have all the necessary materials, it’s time to descale your Keurig 2.0 machine. The process is relatively simple, but it’s important to follow the steps closely.
- Power off the brewer, unplug it and remove the water reservoir.
- Remove the pack holder from the brewer by grasping the sides of the pack holder and gently pulling it away from the brewer. Be cautious as the needles are sharp.
- Press the buttons on both sides of the pack holder to separate it from the housing.
- Flip the pack holder over and push the lever to reveal the bottom exit needle.
- Straighten one end of a paperclip and insert it into the exit needle to loosen any clogs. Then rinse the pack holder thoroughly with water and set aside.
- Remove the diffuser located next to the pack holder, clean it with a cloth, rinse it thoroughly and replace it.
- Look underneath the handle of the brewer and locate the entrance and exit needles.
- Using the paper clip, clean both holes of the exit needle. Tilt the brewer slightly if necessary but be careful not to tilt it too far as there may still be water inside.
- Clean the top entrance needle using the same process.
- Put the pack holder back into the brewer and ensure it clicks into place.
- Place the water reservoir back on the brewer and fill it with bottled or filtered water up to the max fill line.
- Run a cleansing brew to complete the descaling process.
If your Keurig 2.0 Brewer still does not operate at peak performance after descaling, repeat the process or watch this video:
Can You Reuse Descaling Solution?
Many people ask if they can reuse the descaling solution. The answer is no, you should not reuse the descaling solution. Descaling solutions are designed to break down mineral deposits and remove built-up gunk, and these chemicals can become less effective over time. Additionally, there is a risk that the descaling solution could contain bacteria or other contaminants that could be harmful if ingested.
If you have any used descaling solution, you should dispose of it properly. You can pour it down the drain, but it’s best to avoid disposing of it in a sink or toilet.
Why You Should Descale Your Keurig 2.0
Descaling your Keurig 2.0 machine is an important part of regular maintenance. Not only does it help to keep your machine running smoothly, but it also helps to extend its lifespan. If you don’t descale your machine regularly, you may experience a decrease in performance, as well as a buildup of mineral deposits and gunk.
To keep your machine running smoothly, I recommend descaling it at least once every three months. You can also perform regular cleaning and maintenance, such as wiping down the exterior of the machine and emptying the reservoir after each use.
FAQ
Q: How often should I descale my Keurig 2.0 machine?
A: I recommend descaling your Keurig 2.0 machine at least once every three months.
Q: I descaled my Keurig, but it still displays the “descale” message. What should I do?
A: You can find solutions to this issue in our article: Fixing a Keurig that Continues to Display “Descale”.
Q: Can I use regular vinegar to descale my Keurig 2.0 machine?
A: Yes, you can use regular white vinegar to descale your Keurig 2.0 machine.
Q: Can I use lemon juice instead of vinegar to descale my Keurig 2.0 machine?
A: Yes, you can use lemon juice instead of vinegar to descale your Keurig 2.0 machine. However, it’s important to note that lemon juice is much less acidic than vinegar, so it may not be as effective.
Q: How long does the descaling process take?
A: The descaling process typically takes about 30 minutes. This includes the descaling cycle, which runs for about 15 minutes, as well as the rinse cycle, which runs for about 15 minutes.
Q: Do I need to run multiple cycles to fully descale my Keurig 2.0 machine?
A: No, you only need to run one descaling cycle and one rinse cycle.
Conclusion
Descaling your Keurig 2.0 machine is an important part of regular maintenance. Not only does it help to keep your machine running smoothly, but it also helps to extend its lifespan. In this blog post, I’ve walked you through the process of descaling your Keurig 2.
Sarah Johnson
Sarah Johnson is a home appliance expert with over 10 years of experience in the field. She has a deep understanding of descaling solutions and the importance of maintaining home appliances. She has a passion for helping others keep their appliances in top condition through her writing


